We find that a lot of mysterious issues people have with Popper are quite often a very simple problem; the Fan Speed Knob.
When the Fan Speed knob is broken, it can present a range of confusing symptoms. The machine won’t turn on, the fan speed changes in roasting, the operation of the machine is inconsistent.
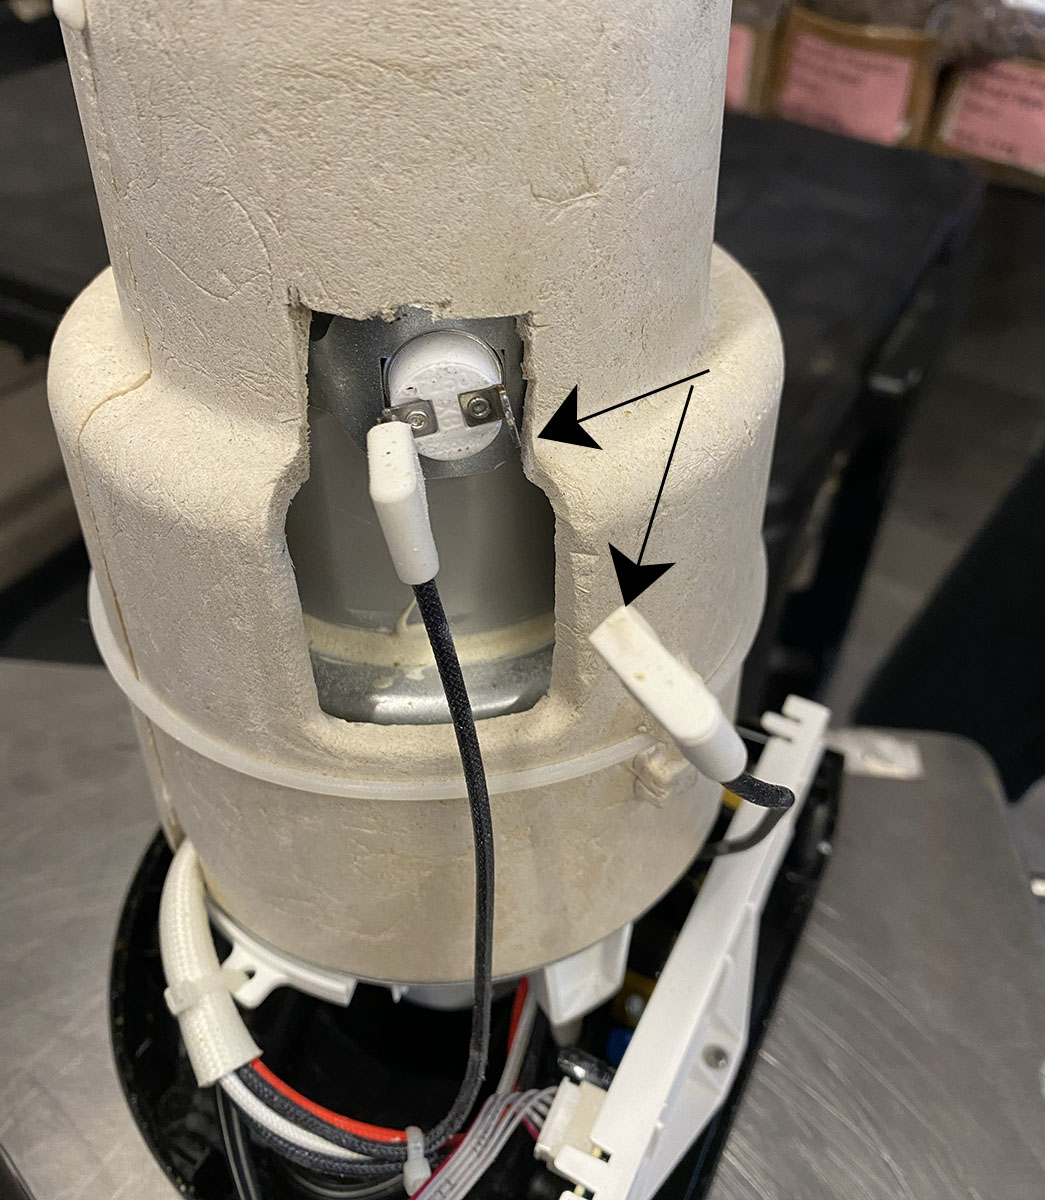
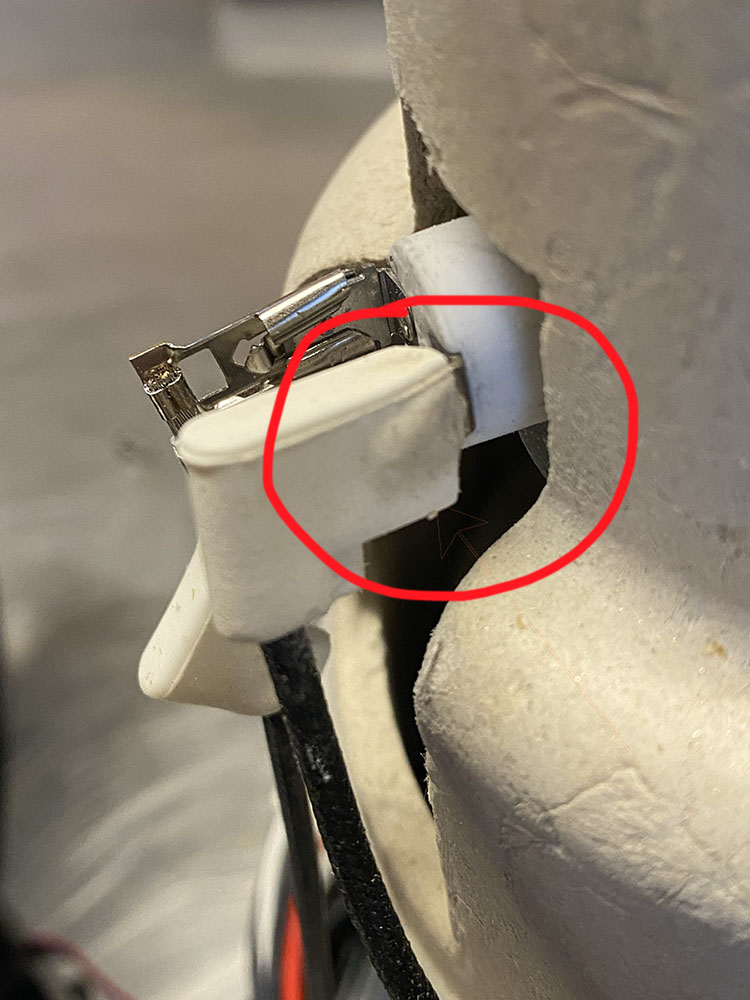
All these can result from the knob not properly turning the knob post, which it is supposed to be firmly attached to. Often the knob malfunction doesn’t happen all at once. A small crack in the part that grabs the post develops, and a turn of the knob “kinda” turns the post.
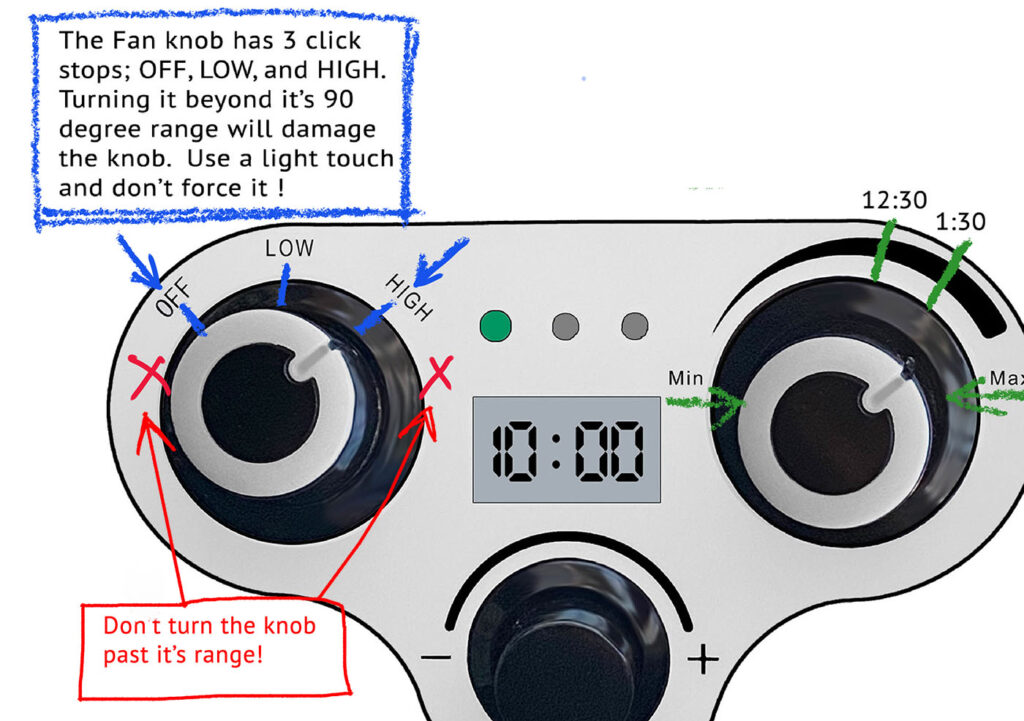
We found that a lot of users of Popper didn’t note initially the Fan Speed knob (which also has the on-off function) and the Heat knob are different. The heat knob turns on a smooth gradient. The fan speed knob clicks into 3 distinct positions.
When the fan speed knob starts to crack, the “clicking” becomes soft, and the feel of the knob becomes a bit mushy – it doesn’t “click” any more, If you notice this, and start to turn the knob more gently, it probably will continue to function for you. The main cause is that some users turn the knob aggressively, and eventually it gets forced past the outside positions.


Above: Popper fan knob stress cracks, due to turning the knob past it’s limit
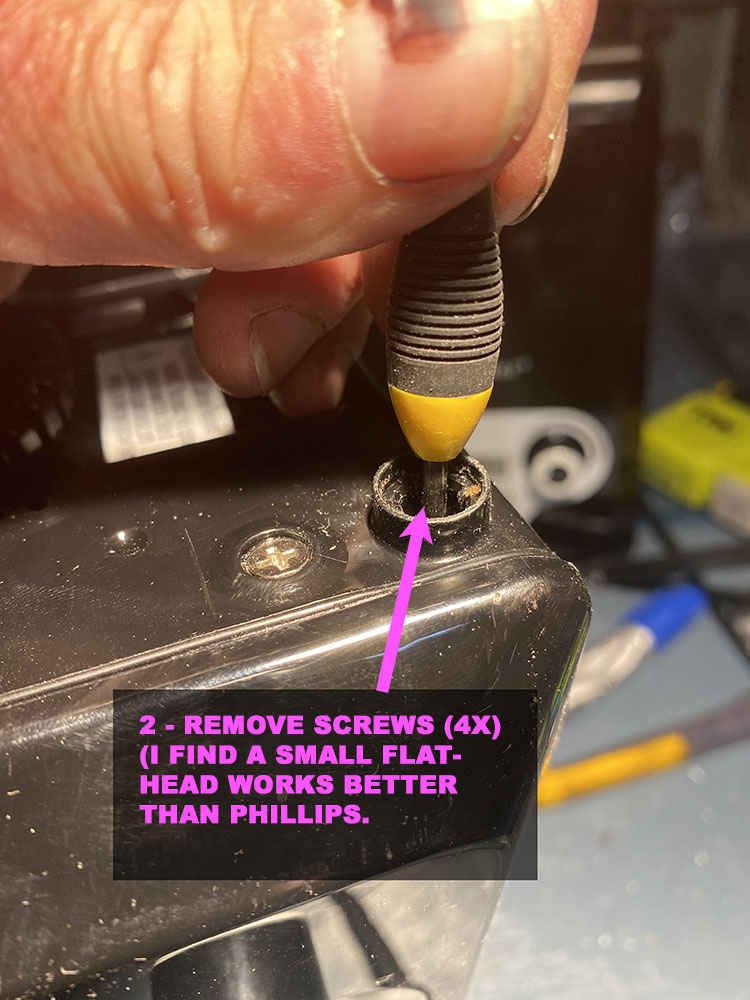
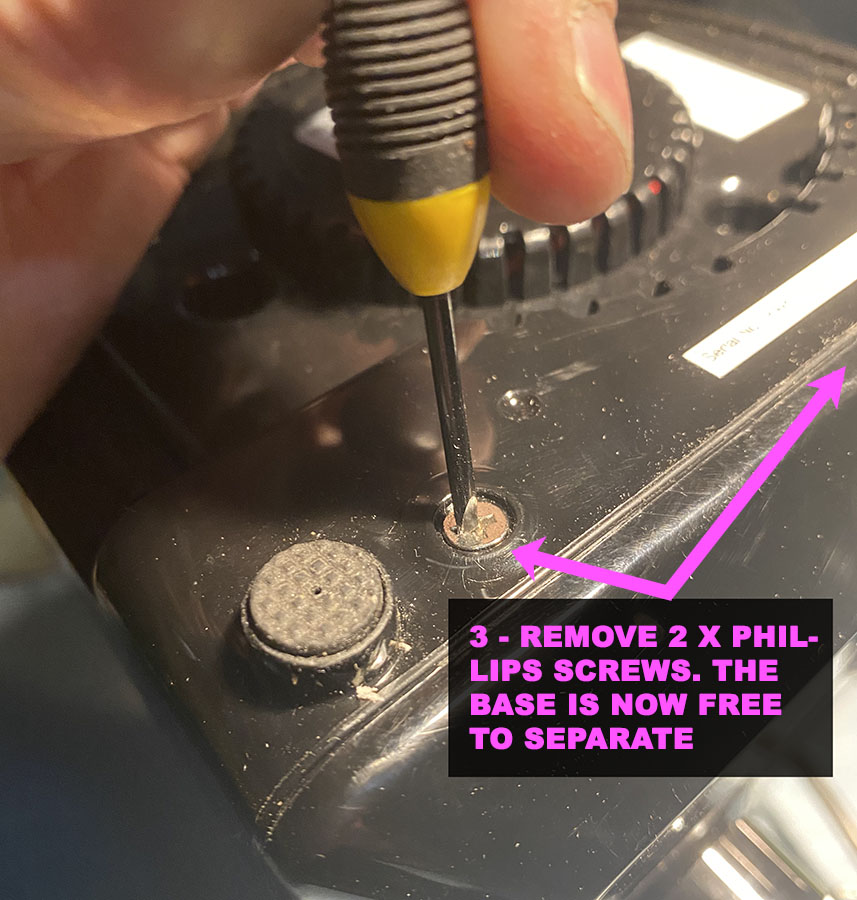
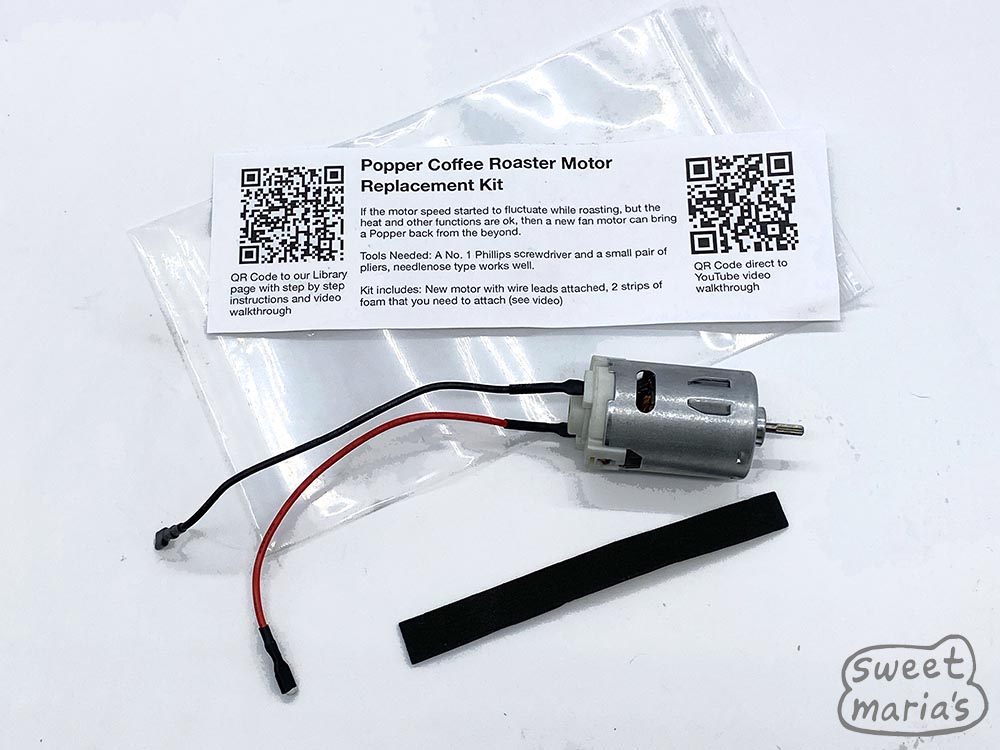
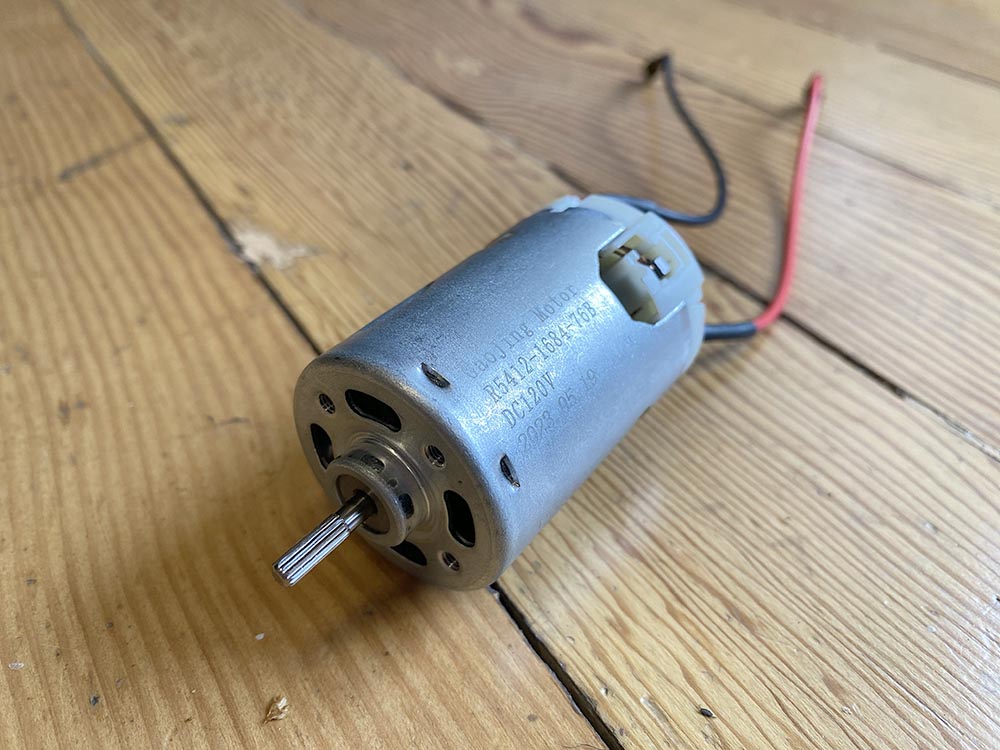
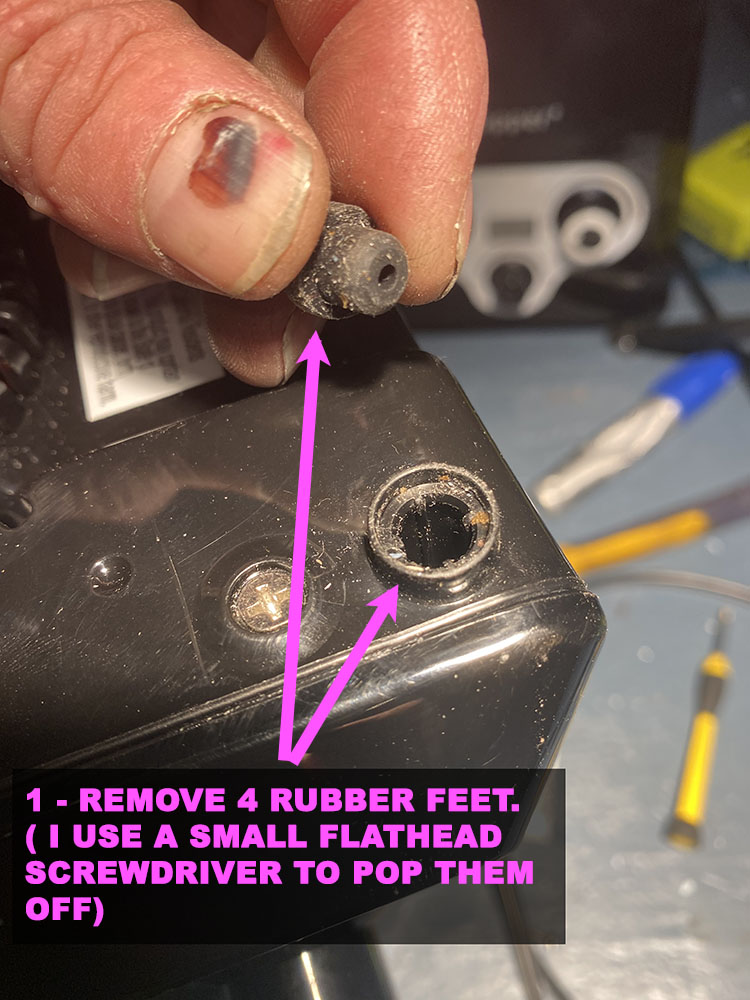
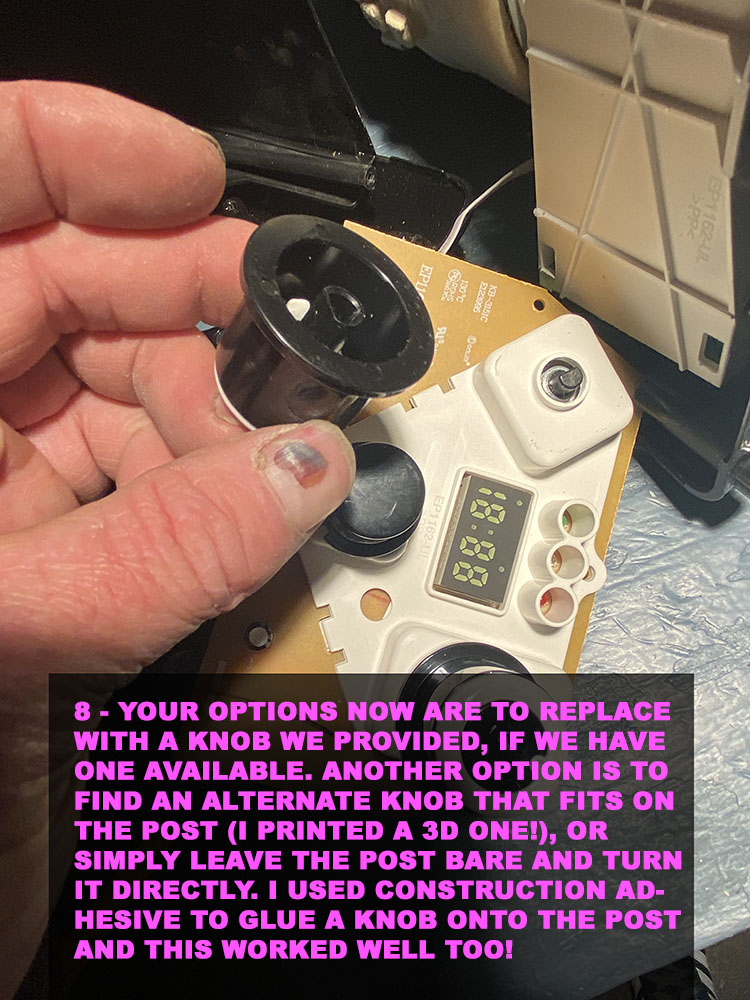
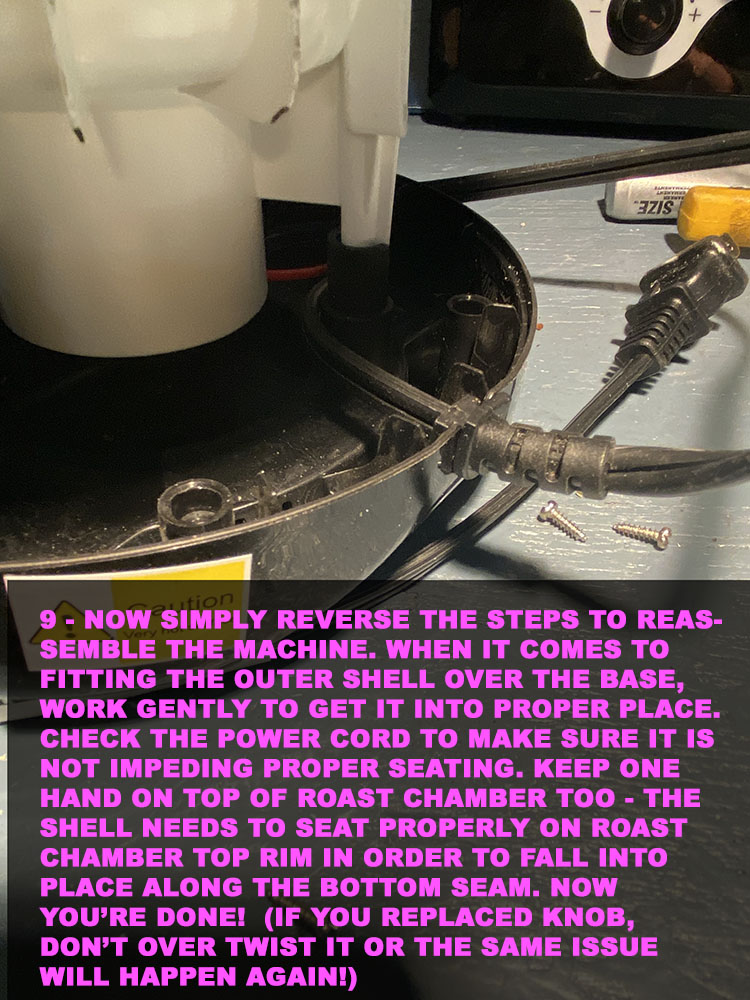
The good news it that later units have a reinforced knob design, which should help prevent aggressive handling. And we have spare knobs of the updated design available if you need one. The caveat is the knob doesn’t just pull off the stem … you have to remove the Popper shroud and one of the control boards to change the knob out. It’s not hard, takes about 15 minutes … and we have a video showing how you do it!
(Contact info@sweetmarias.com for the replacement fan speed knob).
Here is the link for the Step By Step DIY Repair illustrated with photos