Replacement Motor Kit Update

Popper-Motor-Replacement-Kit

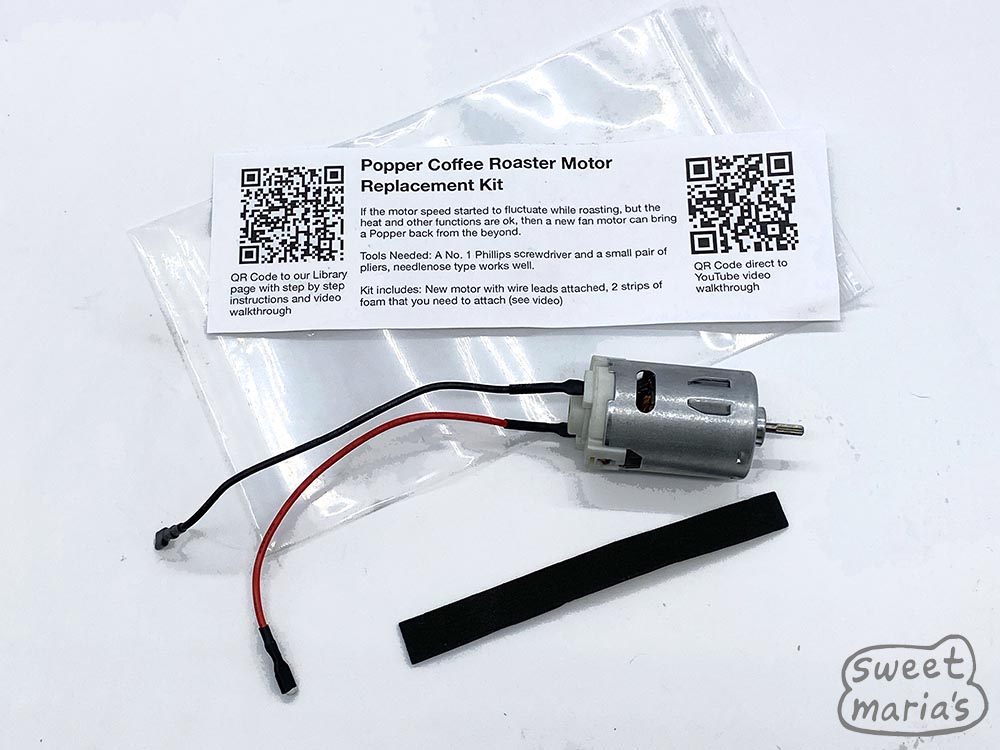
Replacement motors are available at Sweet Maria’s now (June 2023)

Finally, the replacement motors for a DIY rebuild of the Popper coffee roaster are here. I created a video on Sweet Maria’s you tube, and there is more information, plus the link to get a kit, on the SM Coffee Library page. And here is where you get the motor kit for $5 .

Listed instructions from the Video Captions

If it’s helpful, here are the instructions listed out, as they are shown in the video. If there is extra clarification you need or a photo that would be helpful, please comment and we will try to add that.

1- remove the 4 rubber feet to reveal screws beneath.

2- remove the 2 larger front face screws with the No. 1 driver.

3- remove the 4 screws under the rubber feet to release the base from the body shroud.

4- separate base from shroud gently tilting at angle toward the  the ribbon wire

5- disconnect ribbon wire and put the body aside.

6 – remove thermal switch connectors and remove insulation jacket.

7 – remove 3 screws holding roast chamber assembly to base plate

8 – remove 3 machine screws holding white fan shroud to metal roast chamber.

9 – remove 3 ceramic spacers to prevent damaging them.

10 – pull the fan off the splined motor shaft 

11 – remove 2 small motor mount machine screws – motor is free now

12 – pinch the insulation above the spade connector to help release, while gently pulling side to side and upward. 

13 – apply the 2 strips as in the video, not covering any openings in motor casing

14 – insert motor back into white housing, lining up holes in motor with where the 2 mounting screws will go.

14a – (oops) reattach motor with 2 screws, and tighten while pushing motor in place from the back. Don’t overtighten…

15 – push fan down with firm even pressure. test that it moves smoothly

16 – replace ceramic spacers. (added: These are very important to hold fan and heat coil in proper position!)

17 – replace 3 machine screws holding metal chamber to white motor mount.

17a – (added: You will be connecting the red and black wires on the new motor back to the PCB board exactly as they came off; black wire on the lower connector, red wire on upper connector. If you reverse these the motor functions but cannot roast much coffee because (I am pretty sure) the fan will be spinning backwards!

18 – slide thermal jacket on and re attach connectors to thermal switch, pinching them on if they feel lose at all. (added: if they seem loose at all, crip them on a but with pliers. If they aren’t well connected, full power is not getting to the heat coil, and your roasts will take too long / bake.)

19 – Inverting popper, attach base to chamber with 3 screws.

20 – reconnect ribbon cable.

21 – Reseat the shroud on the base, keeping one hand in top hole of roaster to guide it. Don’t force it!

22 – Replace the 2 larger front screws and 4 screws under the rubber feet, and replace rubber feet.

23 – Test your work… hopefully that motor purrs at an even clip and you have 250+ roasts more…
Popper Deconstruction: Inside an Air Coffee Roaster

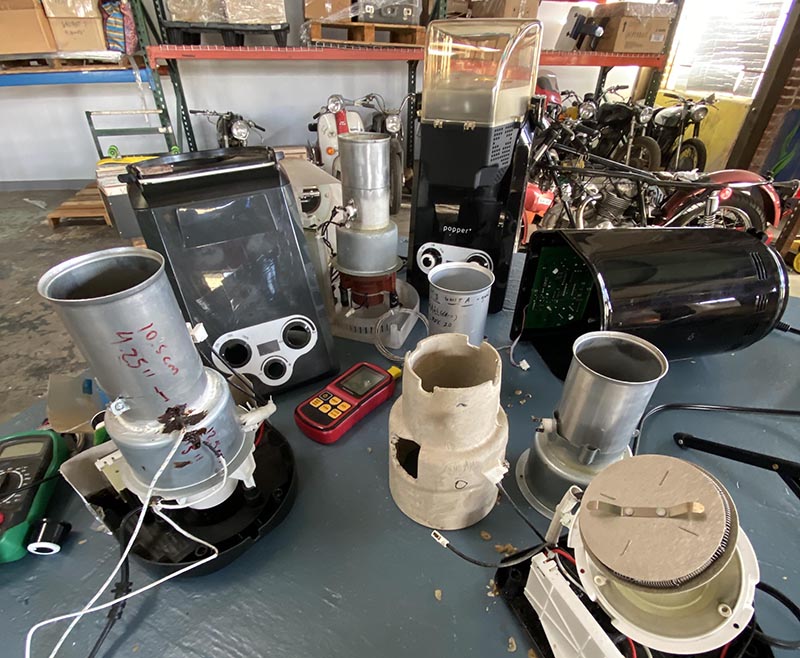
deconstructed popper coffee roasters

A very basic video about making and testing Popper, the air coffee roaster.

Here’s a video to show a few early versions of the machine, and some aspects I had to deal with in getting this project completed.

I don’t think this is a video of general interest so please don’t expect much, and the quality isn’t great. I was trying to move the camera phone around to show details and didn’t always do a great job. Ugh.

Also I need to make it clear that you shouldn’t do what I do here, because opening up the machine voids the warranty against manufacturer defect. I made the video to provide some background details only, and show how I test temperatures.

  • Some things I go over here are
  • A look at an early prototype
  • Location of the thermal cutout switch that protects Popper from overheating
  • When I have a unit that turns off before reaching dark roasts, how i move the thermal cutout switch upward to solve the issue.
  • How I use a thermometer to probe the bean mass
  • Show a bare version with probe locations for input air and bean temperatures
  • Deconstruct (partially) a Popper to show how it’s put together
  • Talk about the unit that easily roasted 140 grams, and why I couldn’t get it built that way 😢

PS – this is in my workshop space where I store the pallets of Popper, hence the motorbikes and cars and such.

Inside Popper Coffee Roaster

Some things take time, like manufacturing a coffee roaster …

Popper is a coffee roaster

popper*, the coffee roaster was right on the verge of going into production.

… but one thing just wasn’t right. The factory had sent sample after sample, but the fan speed (and therefore the air flow) was not consistent. This impacted the potential batch size.

A late night video chat with the engineers in China made it clear to me though. They were testing under the principle that the roaster should not use the entire pre-programmed roast cycle of 7 minutes. They thought of 0 to 7 as a range so they were presupposing what I wanted was a 4 minute roast!

Well, a 4 minute roast is easy in a popper, but it’s rarely an ideal roast time. In fact, the whole idea of *popper is that the user can fluidly adjust roast time up or down on the fly. It’s a manual, low tech machine, unless you want to get in there with an arduino interface etc.

It’s a machine that rewards people who want to play around with the variables, so it’s simple to do a 7 minute roast just to first crack and add 2 or 3 minutes for development. You just have to be there and tend to your roast, make intuitive decisions and turn a knob. Simple.

(For me I actually feel the 7 minute pre-set roast time can work very well. For City roast I target 5:30 to hear the start of first crack, and the remaining 1:30 for further development. Remember, roast time is relative to the device and the type of thermal transfer. Higher air flow and more movement of the mass means more rapid levels of heat transfer via convection.)

Origin Story #1

We wanted to create a coffee roaster, one that was a lot like a popcorn popper from the ‘70s.  We didn’t want to think up any new design, or new roast method. We wanted to take what works, the air popcorn popper, and roll it back to the way it was 30 years ago. 

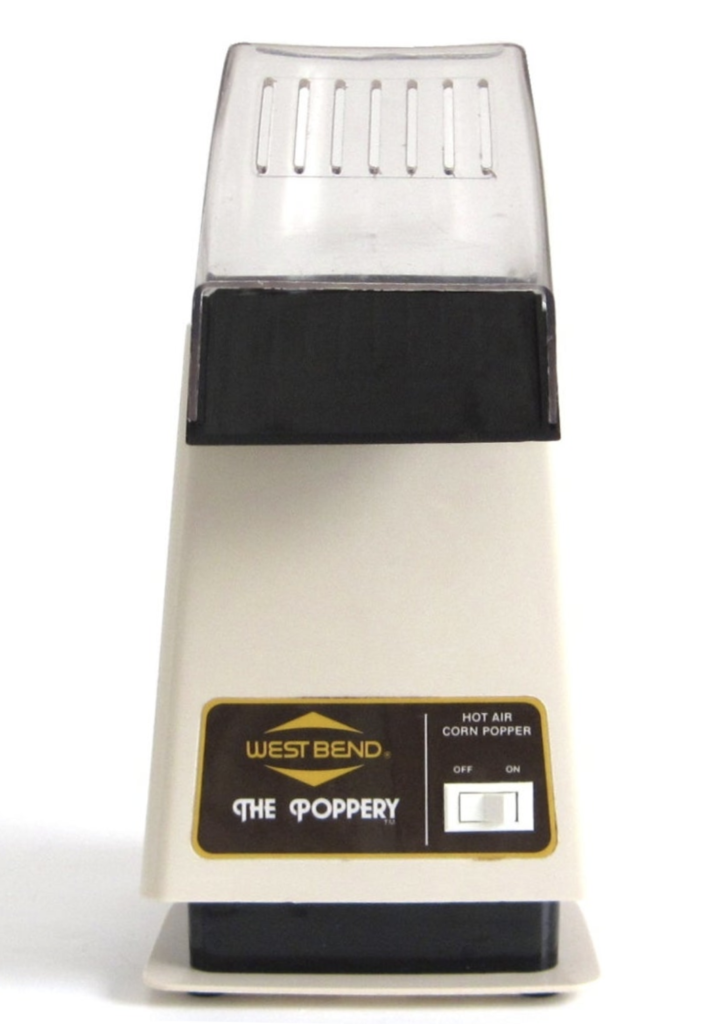
So we took an old vintage air popper machine we bought at a thrift store in the ‘90s for $4, and sent it to China. We sent it to the factory that still makes air poppers, and asked if they could make one just like that. They said they could.

West Bend Poppery, first version, 1500 watts

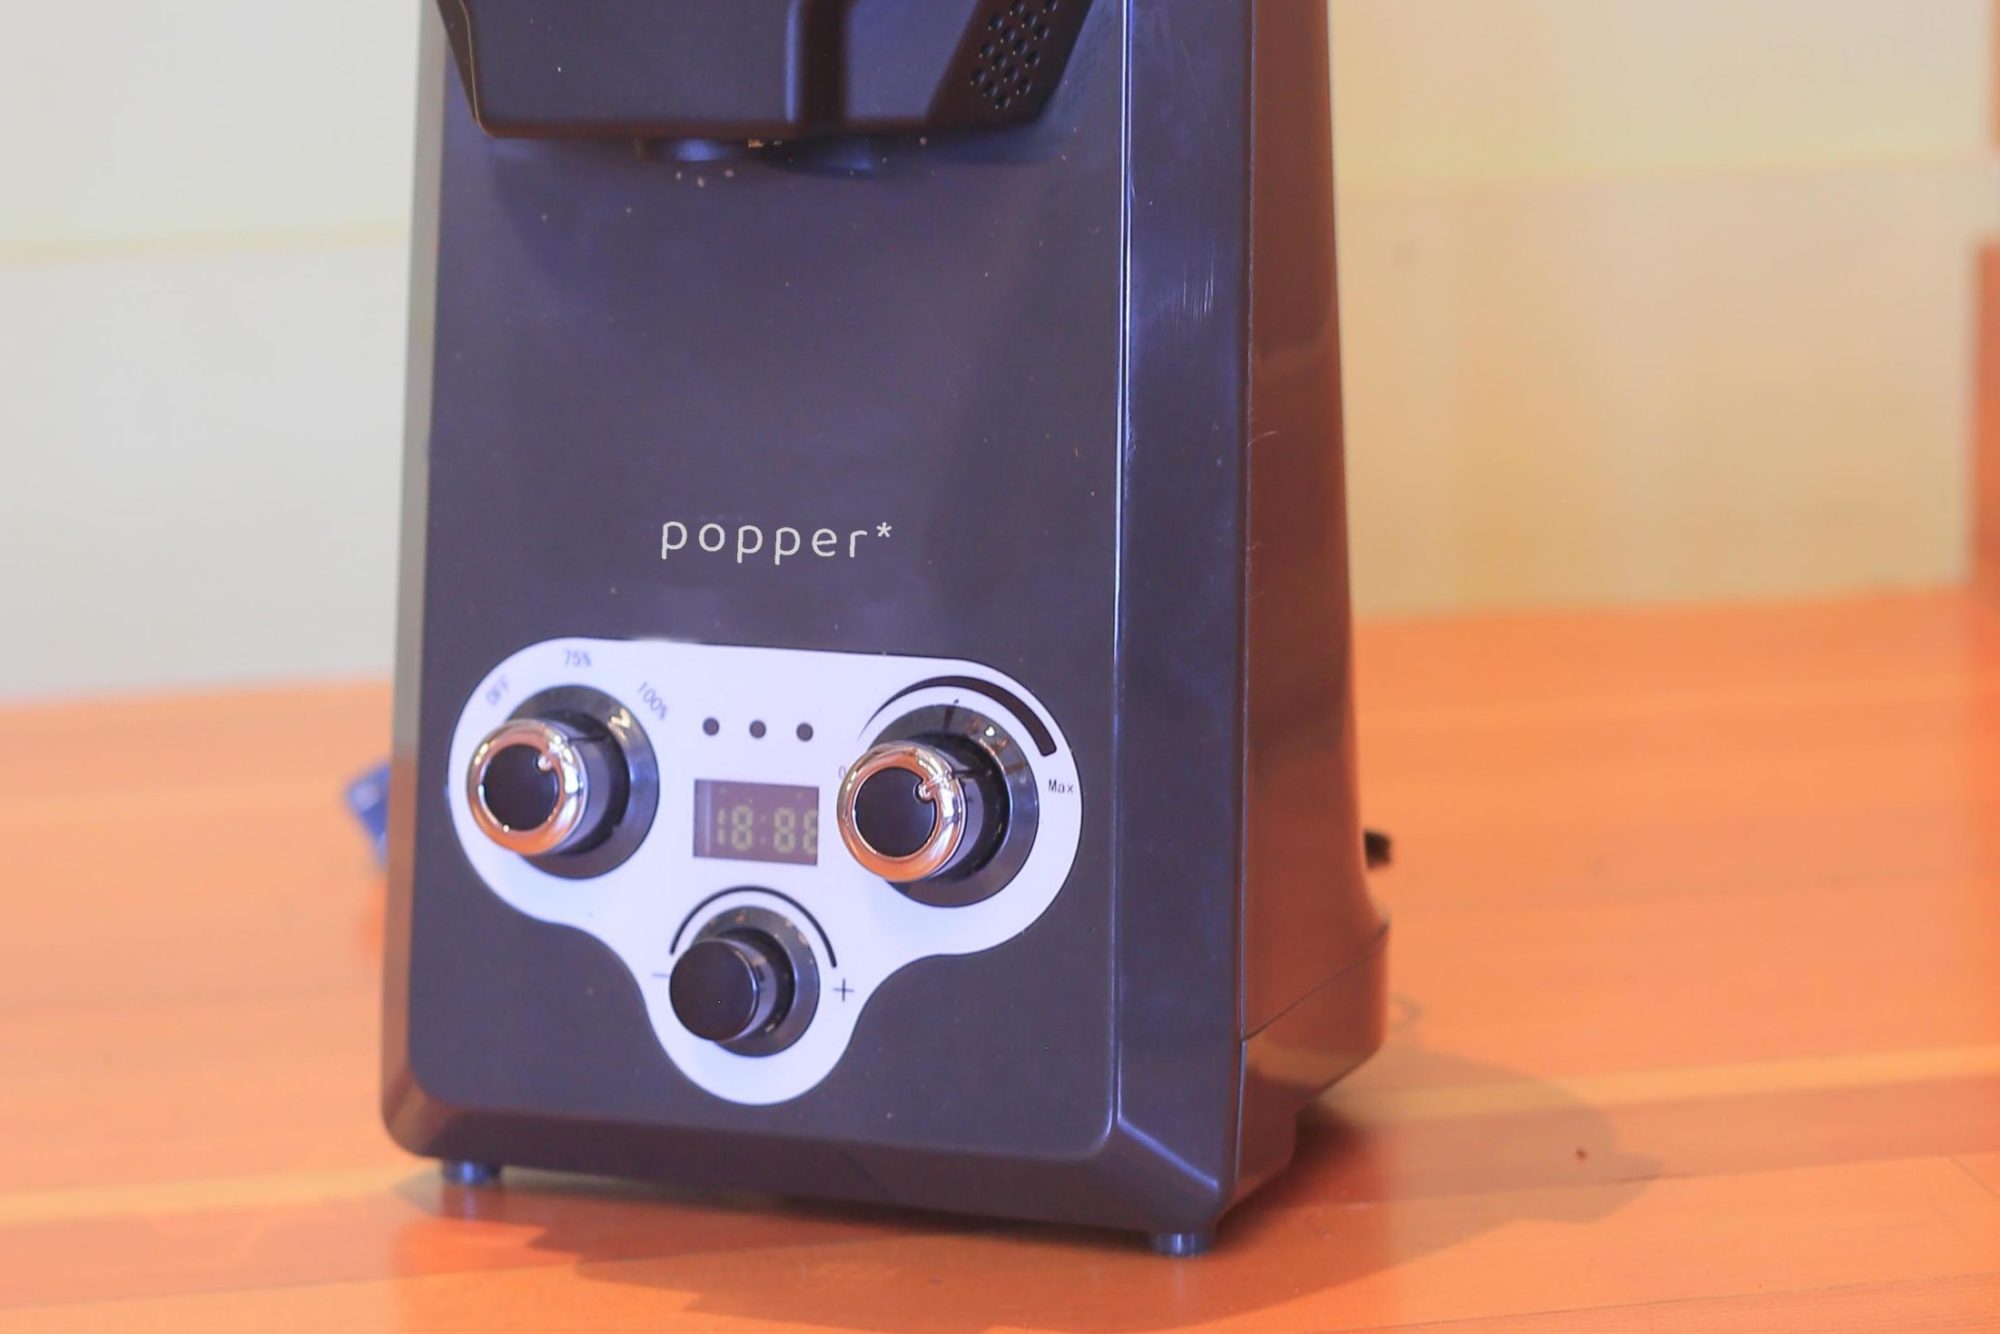
They sent us back a prototype machine. It looked just like the popper we sent them. Actually it was the popper we sent them, but they added 2 knobs to the front.

From then it was a long (and actually pretty boring) back and forth between Oakland and the factory.

There’s more to tell… but we are trying to drag out the story and make more “content” out of this.

It’s a “coffee roaster”

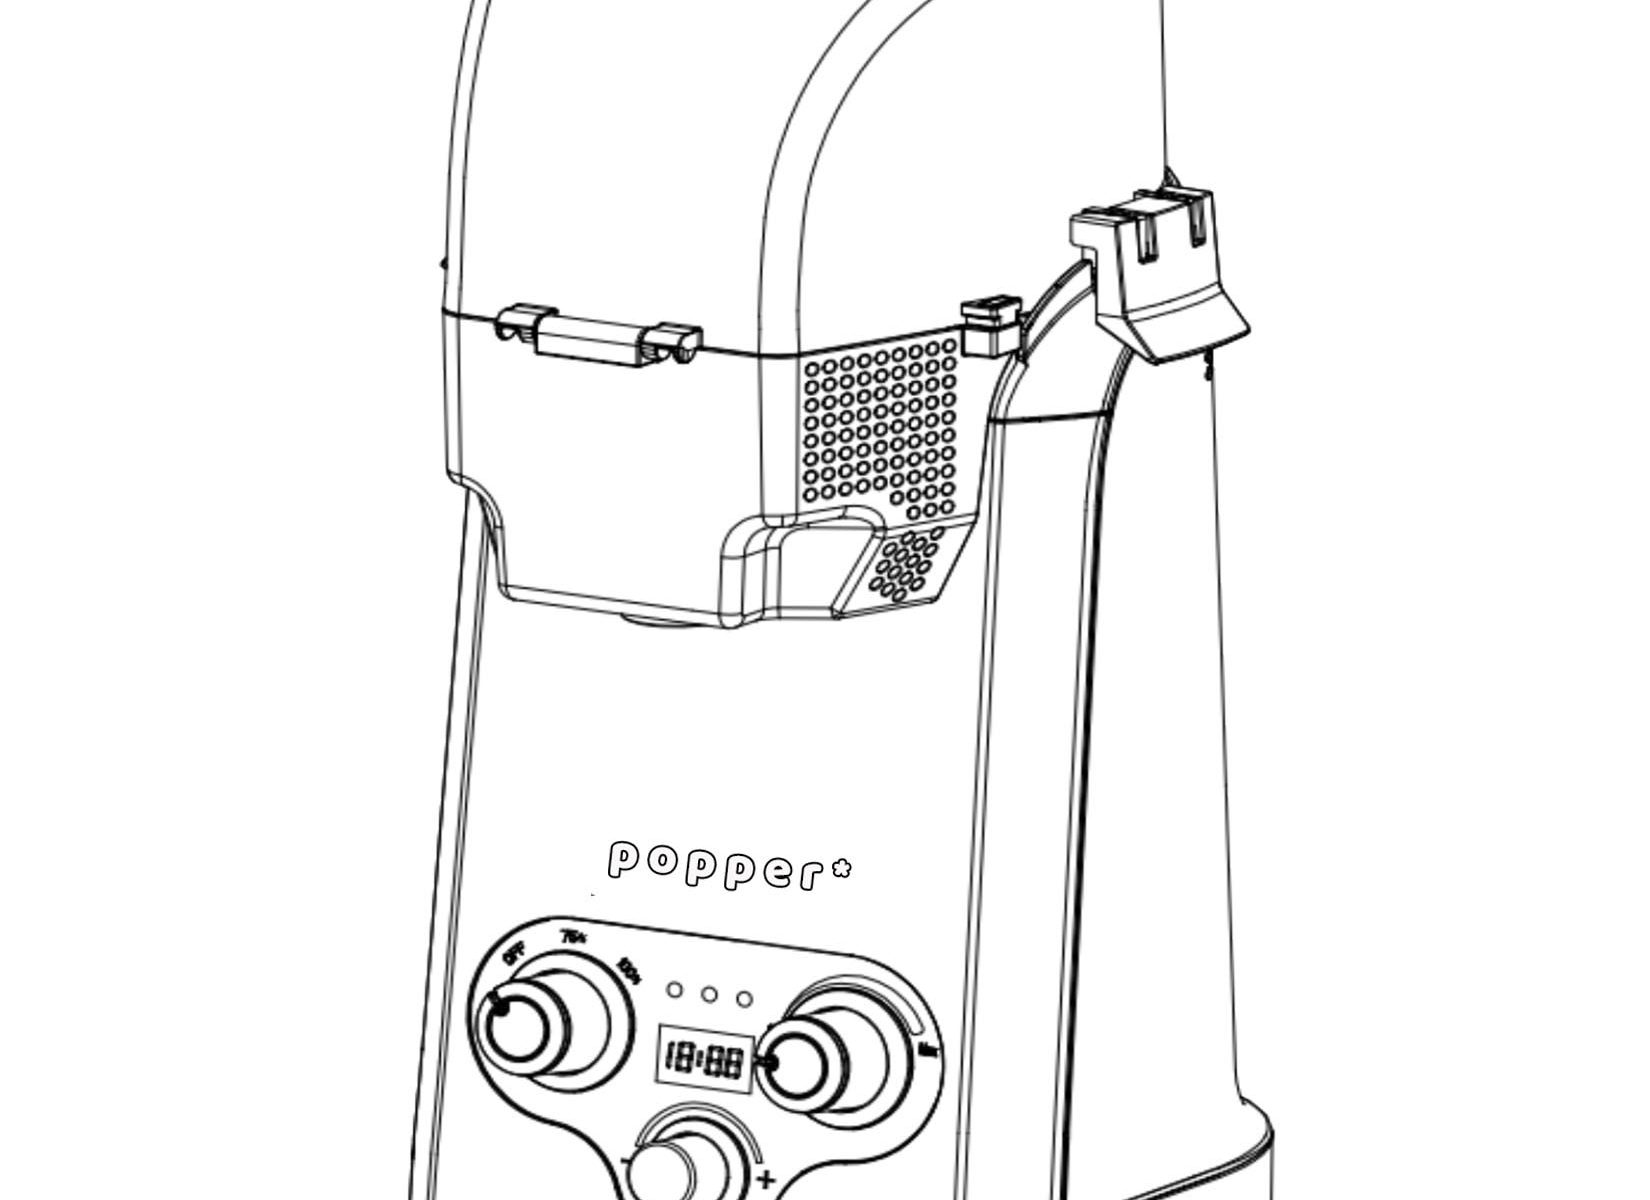
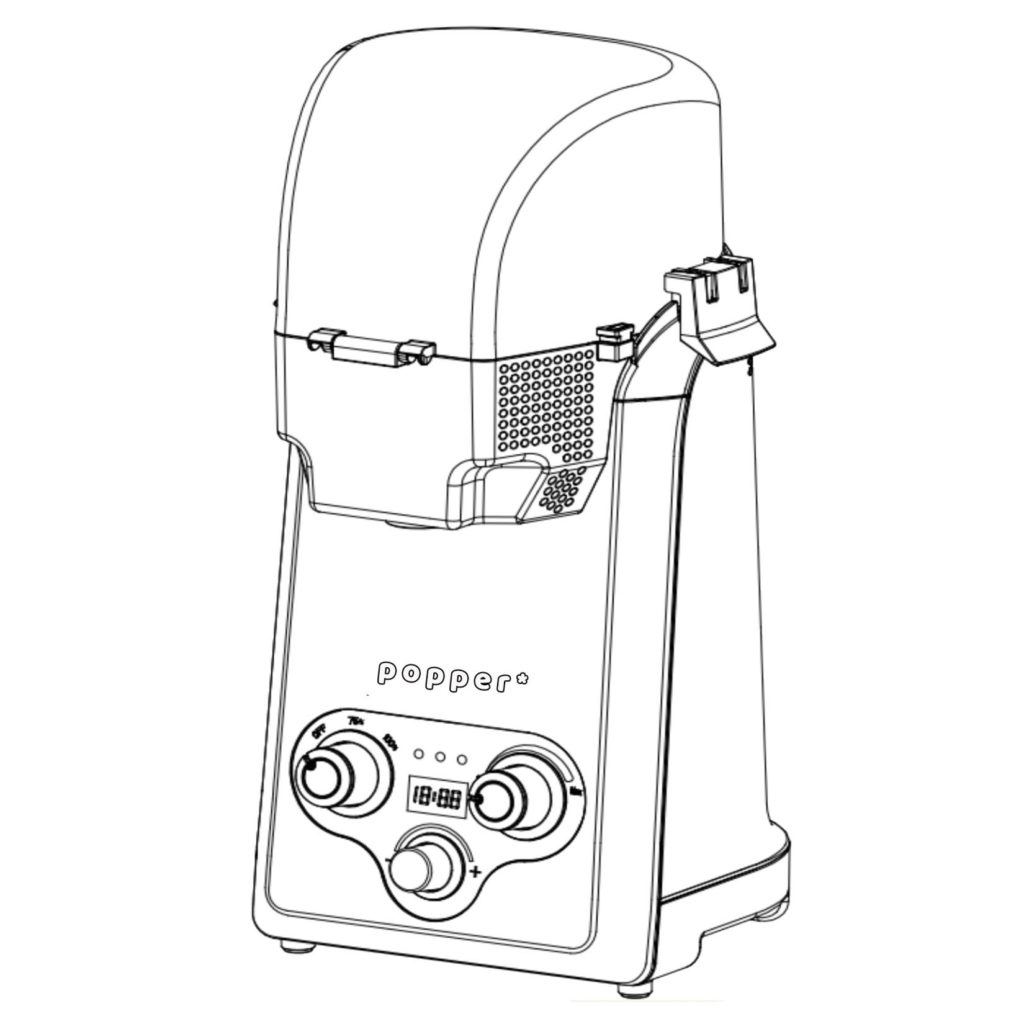
This is just a photoshop image of the Popper with the color shifted from black to gray and the name inserted.

It’s larger than we thought but actually about the same size as the first generation Poppery air popper we sent to them. Big also means stable, which I guess is good.

Popper Coffee Roaster